Leveraging the new RPi0w to build a WiFi enabled keystroke injection tool (a.k.a. USB Rubber Ducky with WiFi).
We've already seen things like PoisonTap take advantage of the data port on the RPi0 to attack a computer via network over USB. Recently the Raspberry Pi Zero W was released (and they're a little easier to obtain than their predecessor). Incase it wasn't obvious, the W stands for WiFi (or Wireless – it includes Bluetooth too).
Preliminaries
This is all possible, because the Raspberry Pi Zero and Zero W both support an OTG, or USB slave mode – which allows the Raspberry Pi to actually be a USB device.
We're going to cover building a WiFi enabled USB Rubber Ducky. If you're not sure what a USB Rubber Ducky is, then take a look and come back when you're done.
Obtaining the Pi
I bought this starter kit. I chose this because it contained things I planned on getting anyway (case, SD card, HDMI, and regular sized USB adapter). But you can grab just the Pi itself for much less, if you don't need the extra equipment. But the most important reason I chose this one: cool RGB LEDs! 😉
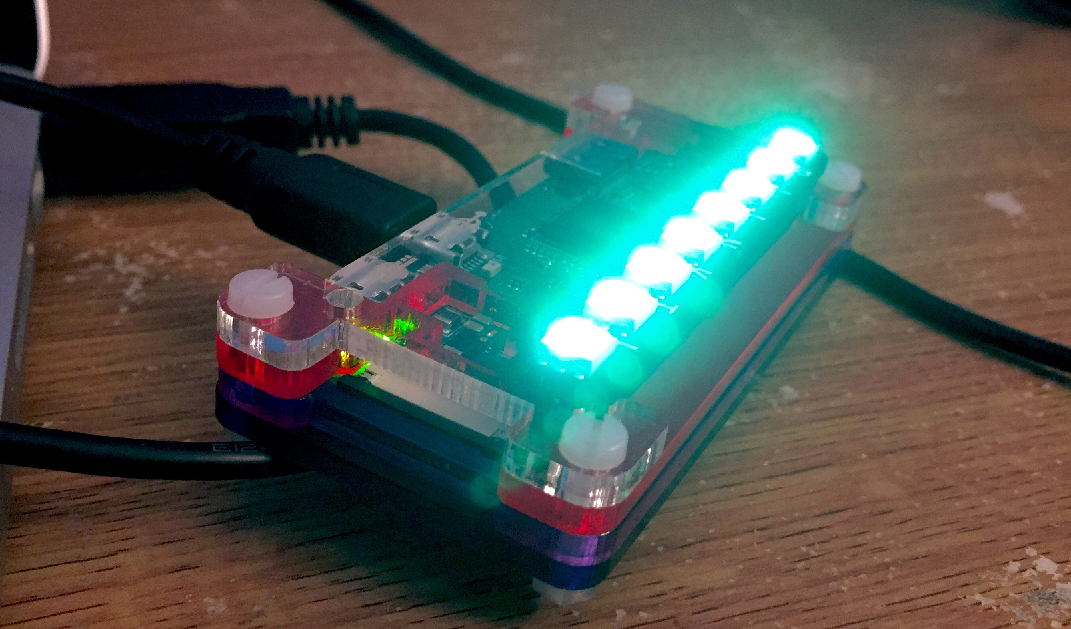
In all seriousness, these are invaluable as a method of output (if you don't have a spare screen nearby).
Grab a recent version of Raspbian Jessie
Download here, lite version is all we need. This is because current versions of Raspbian now include the relevant kernel drivers to enable OTG mode out of the box.
Set up an initial communication channel
If you don't have a screen or keyboard this may be useful to get started. (Initially use the OTG USB port as an ethernet device to facilitate communication with the Pi).
SSH is not enabled by default. So you'll have to either create a file named ssh in the root of your SD card, or remember to enable it when you've got a screen and keyboard connected.
Set up hostapd to broadcast a WiFi network
We'll want to maintain remote access. You could instead set the Pi up to just connect to a WiFi network, but broadcasting a network ensures that you'll be able to send commands even when you're not around your home network.
There are already quite a few guides, like this one, on doing this, so I won't bother here. Note that you can skip any steps regarding IP forwarding, since we won't require that the Pi actually provides a working internet connection.
Enable OTG mode on the data port
echo "dtoverlay=dwc2" | sudo tee -a /boot/config.txt
echo "dwc2" | sudo tee -a /etc/modules
See https://gist.github.com/gbaman/50b6cca61dd1c3f88f41 for more info on the other OTG modes.
Setup the RPi0 as a HID device
I'd seen some reports of success doing this (from a while ago) using the original RPi0, using just echo "g_hid" | sudo tee -a /etc/modules.
If you reboot, and see a /dev/hidg0 device then you had more luck than me!
If you don't, vi/nano into /etc/modules and remove the line g_hid.
Next, I created a file called hid.sh in my home directory:
https://github.com/aidantwoods/RPi0w-keyboard/blob/master/src/home/pi/hid.sh
This will set up the Pi as a HID device.
I used the following wrapper script for calling on boot (so that if the data port is in use e.g. to connect a mouse/keyboard) then the Pi will not attempt this mode (I found this caused the Pi to be unable to use the device I had plugged in).
Assuming henceforth that you're rolling with the default pi user account:
/home/pi/enableHid.sh
#!/bin/bash

if [ "$(lsusb)" == "Bus 001 Device 001: ID 1d6b:0002 Linux Foundation 2.0 root hub" ]; then
  sudo /home/pi/hid.sh
fi
I haven't tested this on a different board, so you should check your own lsusb output to check that the ID portion of the above is correct.
Make it happen on boot
I added these lines to my /etc/rc.local file
sudo /home/pi/enableHid.sh
sudo chmod -R 777 /dev/hidg0
Sending keystrokes
If all went well, upon reboot you should see /dev/hidg0.
You can now use hid-gadget-test.c to send the device keystrokes.
To compile the program on the Pi, use the following:
gcc -o hid_gadget_test hid-gadget-test.c
You can then use a language of your choice to create a wrapper around this script (which sends keystrokes individually):
Keep in mind that you'll need to browse that c file to see which buttons are supported (don't worry, it's fairly readable). To give the gist:
To send the key press 'a', followed by return:
echo 'a' | /home/pi/hid_gadget_test /dev/hidg0 keyboard
echo 'return' | /home/pi/hid_gadget_test /dev/hidg0 keyboard
Lower-case letters are all their own values. An uppercase 'A' could be achieved with:
echo 'shift a' | /home/pi/hid_gadget_test /dev/hidg0 keyboard
Note that here we used a space to separate simultaneous keys.
While symbols tend to hold their wordy names:
E.g. for (cmd/winkey) + space:
echo 'left-meta space' | /home/pi/hid_gadget_test /dev/hidg0 keyboard
Here's a demo wrapper program written in PHP (the translation function is far from complete): https://github.com/aidantwoods/RPi0w-keyboard/blob/master/src/home/pi/quack.php
If you're more for typing manually, then just use
/home/pi/hid_gadget_test /dev/hidg0 keyboard
This will enter an interactive mode which accepts keys in the same format as above, but you can press enter between each keystroke to send.
Does it Quack?
It quacks!
Here's a GitHub repo with all the necessary files mentioned above: https://github.com/aidantwoods/RPi0w-keyboard
Quacking like a duck
If you're looking to port ducky scripts directly onto the Pi, take a look at droidducky.sh from https://github.com/anbud/DroidDucky